To Place Cell from Components Center and Create a Custom Component
For this procedure
you must be signed in to the Connection Center and should have existing cells
stored in the Components Center.
This procedure
details how to place a cell from the Components Center then use the Create
Custom Component tool to create an
OpenPlant Modeler
component from it.
- In your drawing make sure you have values defined for Unit, Service and Plant Area.
- Switch to the Drawing or Modeling workflow.
-
In the Content ribbon click the
Place Component
 option from the Components Center
tool group.
The Components Center Explorer dialog opens.
option from the Components Center
tool group.
The Components Center Explorer dialog opens.
- Select the cell to place from the group and click Place.
- Use the standard placement method to place and orient the cell in the drawing.
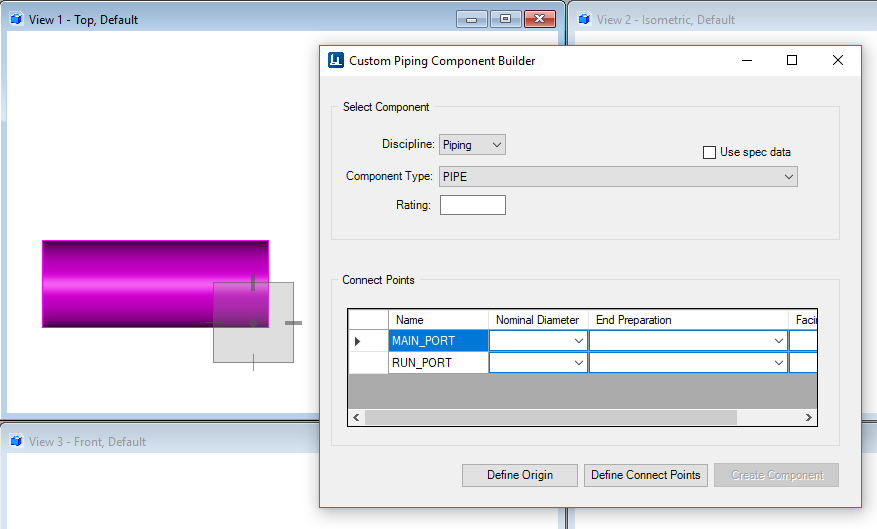
- Switch to the OpenPlant Modeler workflow and select the Create New Custom Component option from the Piping ribbon. The Custom Piping Component Builder dialog displays.
- Use the fields in the Custom Piping Component Builder to define Component Type, Placement and Connect points for the pipe and click Create Component to complete the process.